Keeping one of my archived post for history keeping as to when i first started off trying github pages back in 2020 and how far along we’ve come in terms of using github pages and llm tools for creating code. The stuff below that took me a bit of time to learn can be completed in just a couple line of prompts and takes a couple of hours to complete.
I’ve decided to move my page to GitHub Pages. I decided to start fresh and not migrate my WordPress content. If this is your first time working with git, GitHub, Jekyll, Markdown, or static site generators, starting fresh can be a good option.
If all these terms are new to you, it is not too late to pick them up no matter what your background is. There are lots of tutorial videos on using git, and there is not as much programming to muck around on as people think if you just want to start with something basic. Plus this is a free option for hosting your webpages, and it is definitely worth picking up.
So welcome to “Unlocked.Today”.
Since I decided to set up my pages at GitHub Pages, it was worth documenting some of the journey here.
#Contents
- Step 1 - get a GitHub account
- Step 2 - set up GitHub Pages
- Step 3 - fork a theme from a Jekyll template
- Step 4 - customize site details
- Step 5 - write your first post
#Step 1 - get a GitHub account
Register your account at https://www.github.com.
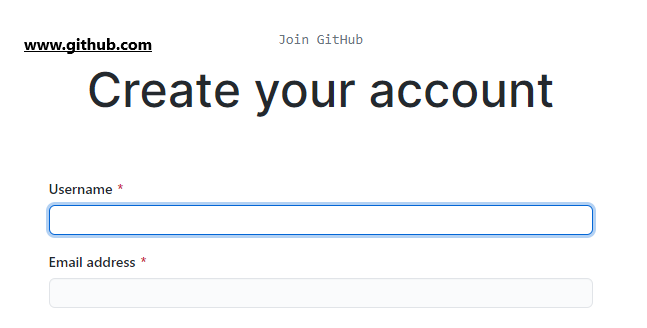
GitHub is used as a hosting platform for software development and version control. It is commonly used for open-source projects and is free.
Once you have created your account you will be brought to this page.
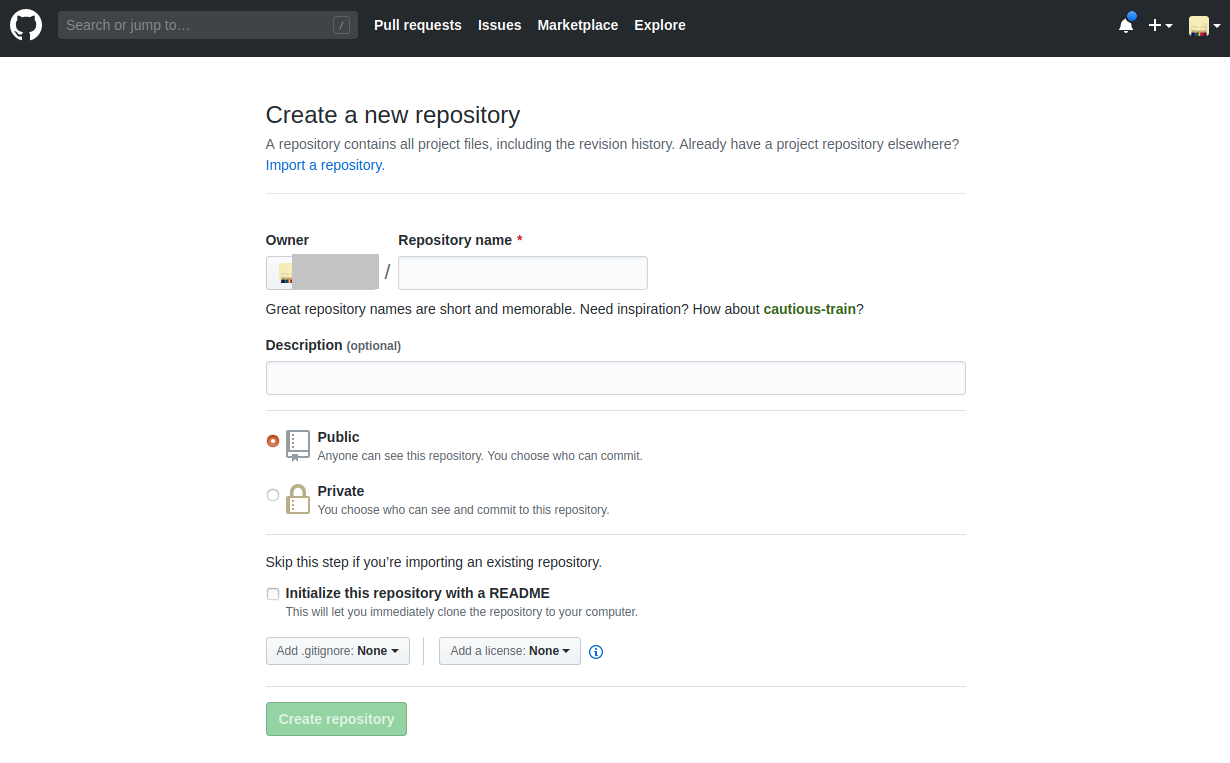
Give it a recognizable name. Take note that this will be accessible to the world unless you set it to private. However, since we are setting up a website, this will be set to public. Imagine this like your giant folder accessible through the internet.
#Step 2 - set up GitHub Pages
The fun bit. At this point, you can jump to Step 3 and then come back here, or you can set this up and just copy the Jekyll template into your GitHub repository.
Click Settings in your new repository.
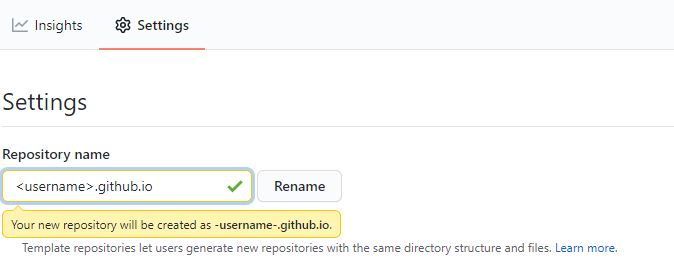
Fill in your new page name as per above. The username needs to match your profile username. This is how the internet will reach your GitHub Pages website at
If you scroll further down the same Settings page you will come across this.
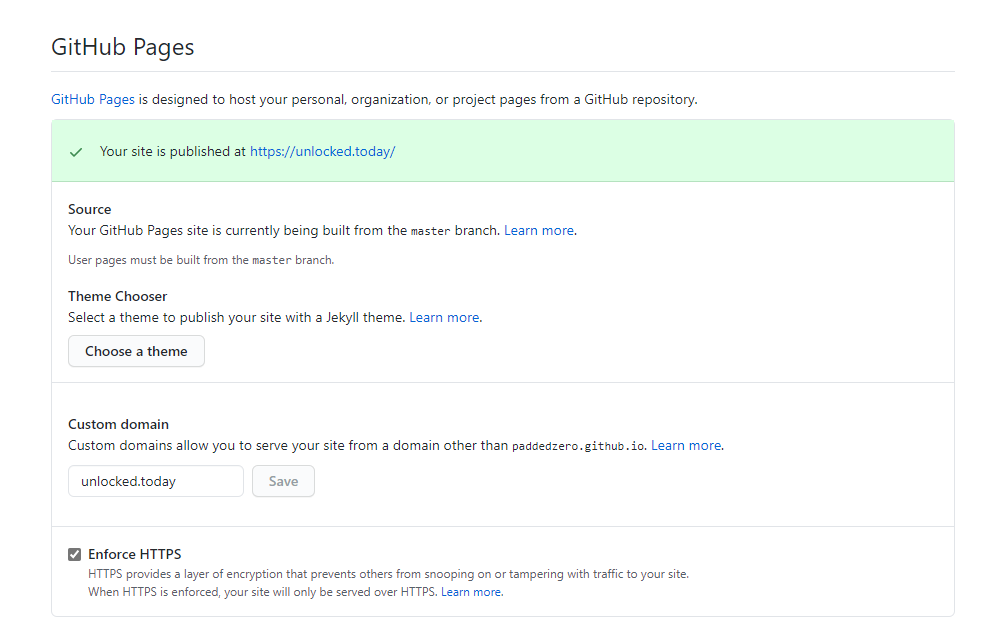
For now just take note that if you want to use your own customized URL, this is where you need to add it in. This setting also allows you to choose pre-defined themes created by GitHub Pages but for the purpose of this exercise we will use a customized one. So just mark this page for future reference.
For additional details on how to set up GitHub Pages, see https://guides.github.com/features/pages/.
#Step 3 - fork a theme from a Jekyll template
Up to this point, what we have done is create a page but it is empty. GitHub Pages is powered by Jekyll and leverages Markdown to write the text.
To keep it simple, we can use a theme template from one of the many Jekyll developers on GitHub. The power of GitHub is that it allows sharing at the snap of the hand.
For the purpose of this example, I am going to use minimalmistakes which I used as a base template for my website. There are plenty of other options out there, just to list a few here:
- https://github.com/mmistakes
- https://github.com/poole/lanyon
- https://github.com/barryclark/jekyll-now
- https://github.com/mojombo/mojombo.github.io
Keep in mind, I am going for a free and basic site that still gives you the power of a website like WordPress.
So with that in mind, go to GitHub and click on the link for minimalmistakes, which brings you to a page like below.
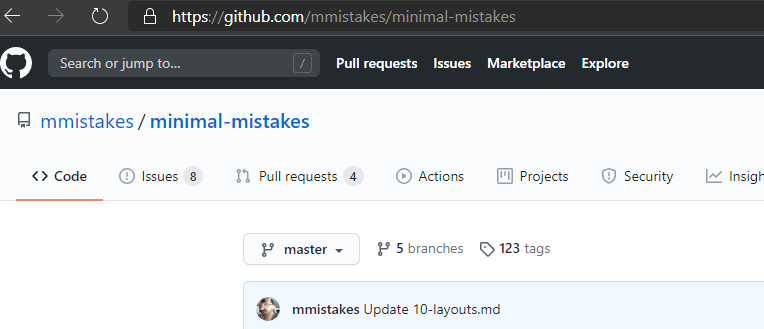
What we are trying to do is use this repository as our base. There are a few ways to do it. If you have performed Step 1 and 2 then you just need to download and upload back into your created repository. That is it to get your site up and going.
The other method is forking, which will replicate the Jekyll template at a click of a button. On the right-hand side of the repository screen you will see the Fork button.

You will then have the entire repository of minimalmistakes in your folder. All you have to do now is follow Step 2 to change this repository name as well as set up your custom domain name if you have one.
#Step 4 - customize site details
At this point, give it around 10 minutes to populate. By now your page should be up at
Next you need to customize the file _config.yaml which exists in the main folder of your forked repository. To keep it simple, just click the file and it will open up this page.
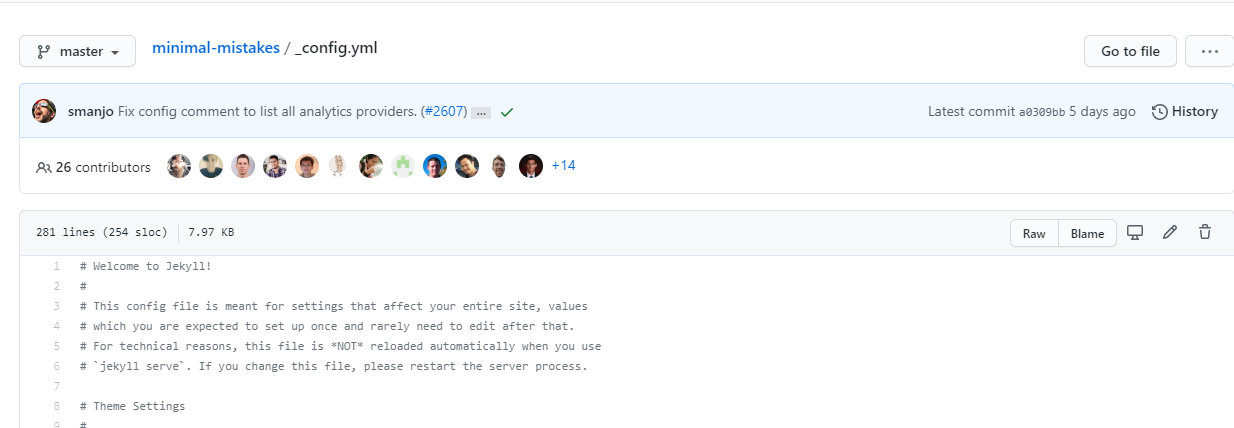
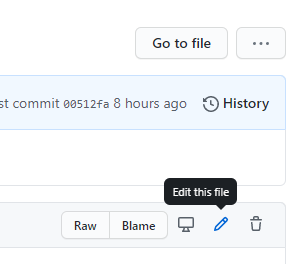
For the most part, you can edit all your files in a similar way. Next, edit this file. There is an icon for edit on the right-hand side of the box.
Customize the config.yaml to match your preferred details. For a start, try changing the URL to match your URL and also the various descriptions. Change values which are after the ’:’ on the right-hand side of the code.
Take note that every character, space, or character break means something here.
Check out the Markdown site for a guide to commands that you can use: https://www.markdownguide.org/cheat-sheet.
#Step 5 - write your first post
I propose for a start that you just write your first post to get some familiarity with Markdown and how GitHub Pages works.
To write your first post, go to the _posts folder in your repository. There you will see a few samples. Ensure that the new posts follow the naming structure which is YYYY-MM-DD-title-no-spaces. The file names should not contain any blank spaces; you can use dashes to indicate spacing instead.
Now you have set up your first Jekyll site with GitHub Pages and have published your first post.
#Done with setup
Next is to customize your blogging experience by setting up your writing environment.
I recommend getting Visual Studio Code, which is free, and installing extensions such as:
- markdownlint
- GitHub Pull Requests and Issues
- Markdown All in One
- YAML
Once you set up Visual Studio Code, here are a few things to continue learning at a glance:
- Setting up GitHub Pages access on your local machine
- Serving a local Jekyll website for previews on your local machine
- Committing and pushing your files to GitHub from VS Code
- Snippets and what they are, as they make your Markdown editing life easier
- Analytics - find out who or where people visiting your website are coming from
Jekyll also provides a good reference for additional resource reading: https://jekyllrb.com/resources/.
Thats it.